Trimming, drying and curing is just as important as the growing process itself. Properly trimmed, dried and cured buds will have better flavor, aroma, and potency. In this guide, we’ll go over the basic steps involved in drying and curing for a higher quality result.
Trimming
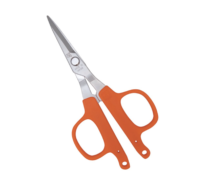
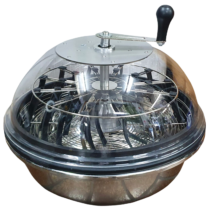
Don’t underestimate the importance of a good trim. The more methodical you are during this step, the more efficient the drying process will be, plus your buds will be more aesthetically pleasing. Dry trimming and wet trimming are the two main methods of trimming buds. See our post The Pros and Cons of Dry Trimming to learn more.
Drying
There are two main methods for drying: hanging and using a drying rack:
- Hanging involves suspending buds upside down in a cool, dark, and well-ventilated area until they are dry enough for further processing. Hanging is a traditional and popular method for drying, as it is simple and effective. Hanging tends to result in more even drying because buds are suspended in the air and can dry from all sides.
- A drying rack is a flat surface with mesh or perforated sheets that allow air to circulate. Buds are spread out on the rack and left until they are dry enough for further processing. Using a drying rack allows the buds to be laid flat, which can be useful for growers who have limited space.
Dry in a dark, well-ventilated area with a consistent temperature between 15-21°C and humidity around 45-55%. Use a fan to circulate air, but don’t point it directly at the buds. Monitor the drying process carefully, checking your buds daily for signs of mold or mildew. The drying process can take anywhere from 7-14 days
Curing
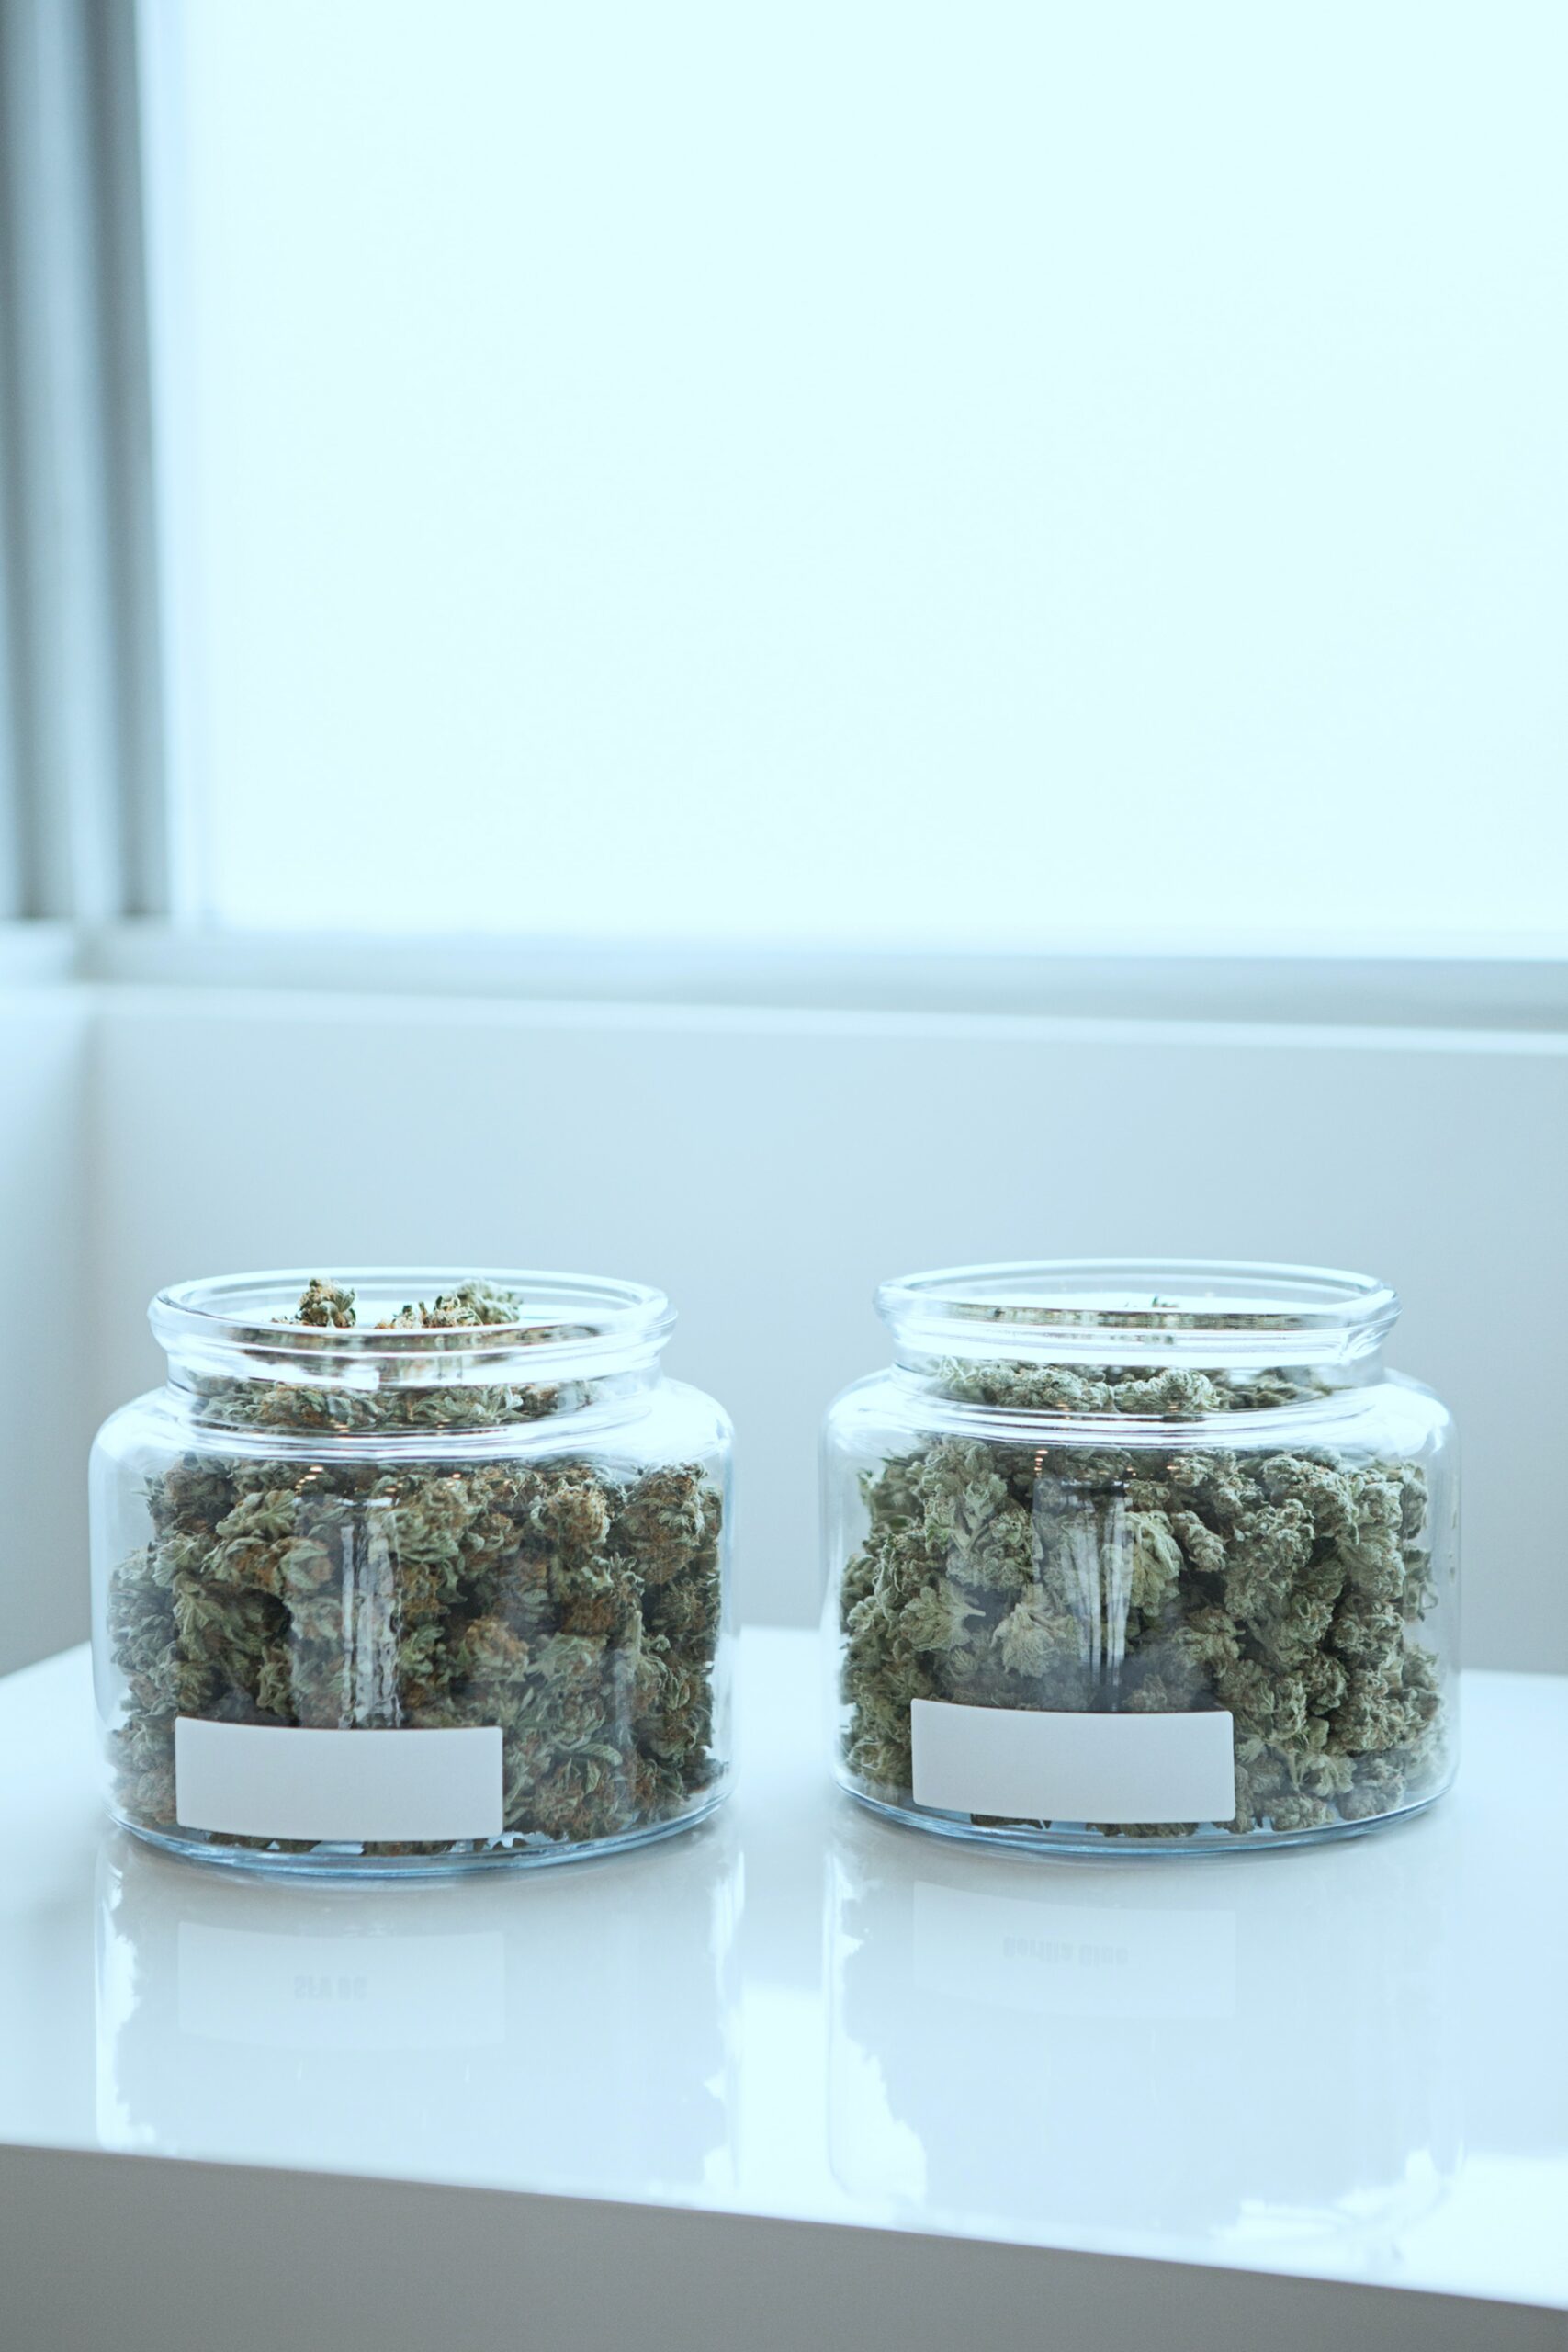
Use clean, airtight containers to store your buds. Make sure they’re completely clean and dry. Loosely fill the containers with buds, leaving about an inch of space at the top. Don’t pack them too tightly, as they need airflow. Store the containers in a cool, dark place. During the first week, open the containers for a few minutes each day to let fresh air in and release excess moisture. This process is known as “burping.”


